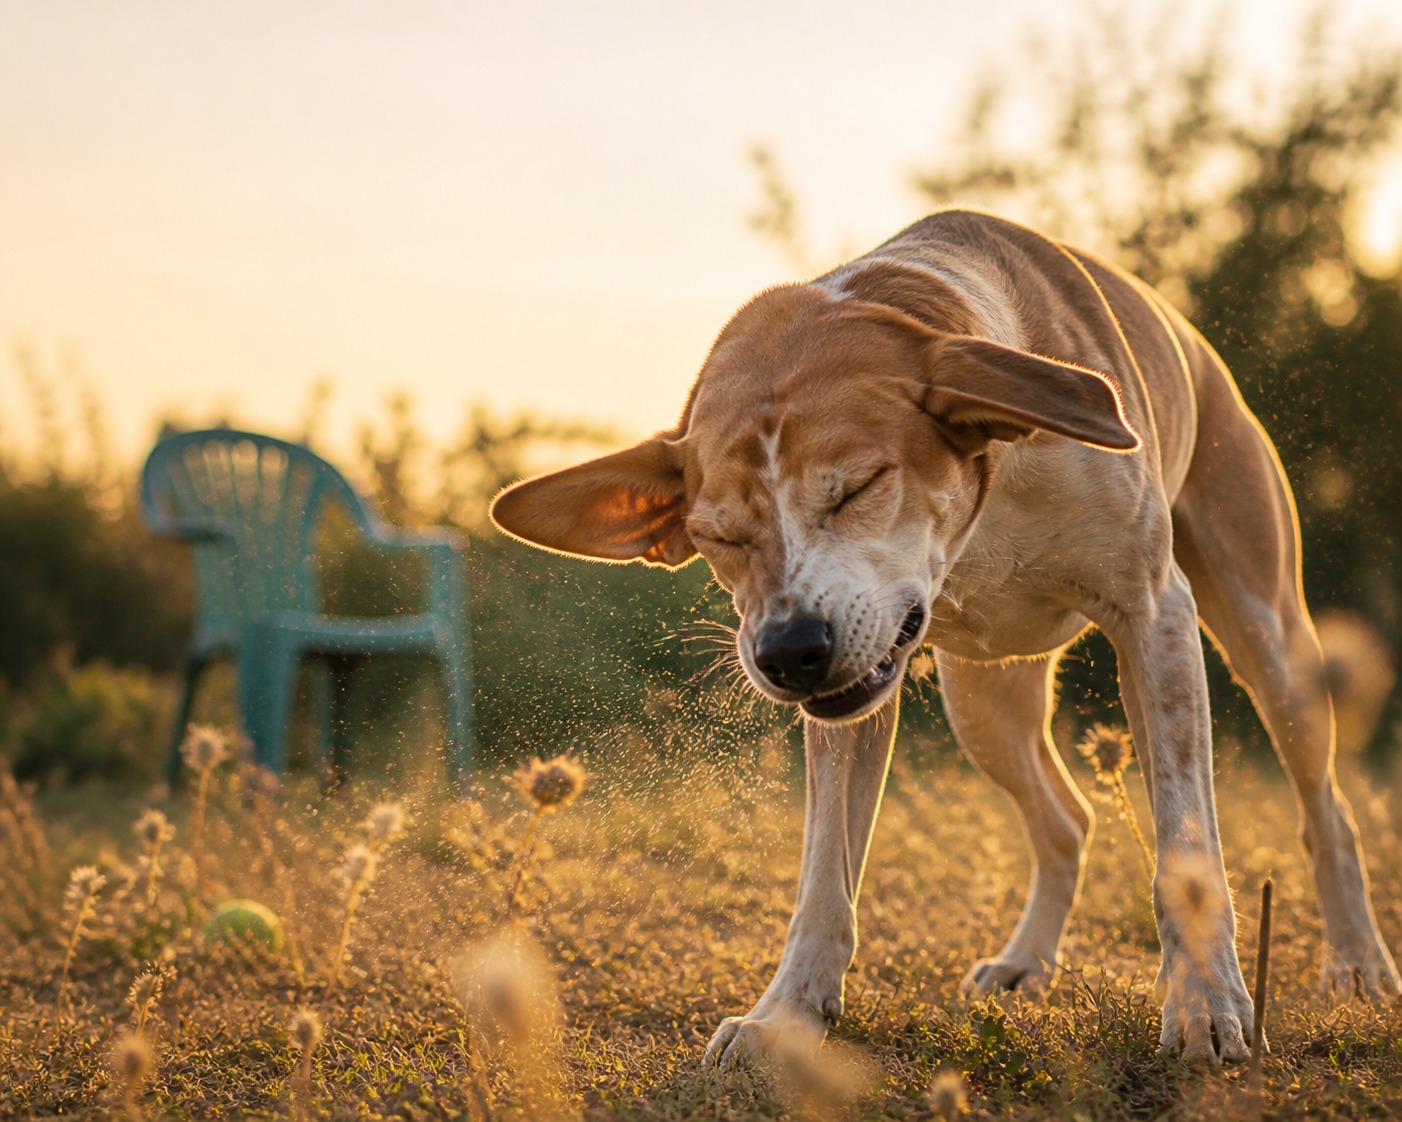

Dogs’ ears are remarkable instruments, able to catch sounds half a mile off and at frequencies we cannot even perceive. That sensitivity comes with a design quirk, though: a dog’s ear canal is not self-cleaning the way ours mostly is, so from time to time it needs help clearing out wax and debris. When that maintenance slips, or when something else goes wrong in there, your dog will usually tell you the same way, by shaking their head like they are trying to fling it off.
Here is the mistake worth avoiding: treating the head-shaking as an automatic cue to reach for the ear cleaner. Head-shaking is a symptom, and it can point to several different problems, some of which cleaning will not fix and may even worsen. So before we get to the how-to (and there is a full, safe one below), start by reading what the shaking is actually telling you, and get your vet involved first.
Why a dog’s ears need help in the first place
Our ears are simple: an outer flap connected to the inner ear by a short, straight, flat canal. A dog’s ear is a more complicated piece of plumbing. The outer flap connects to the inner ear through a canal that takes a sharp turn downward and then levels off toward the middle ear, forming a rough L shape. Gravity, in other words, is not on your dog’s side. Discharge, wax, and debris do not simply fall out, so some dogs need a hand emptying the canal.
That does not mean every dog needs frequent, aggressive cleaning. Far from it. Most dogs only need occasional cleaning as part of routine care, during an at-home grooming session, or when there is an actual problem. Over-cleaning a healthy ear can irritate it and cause the very trouble you are trying to prevent.
Read the head-shake before you act
You will know your dog has an ear issue when the head-shaking gets bad enough that you want to take their collar off just to stop the tags jingling, or when they would rather sit and dig at an ear than go for a walk. Other tells: a smelly discharge, redness, or heat coming off the ear. Those signs mean something is irritating the canal, and the cause could be wax, but it could just as easily be an infection, ear mites, trapped moisture, or a foreign object like a grass awn. That is exactly why the vet comes before the cleaner.
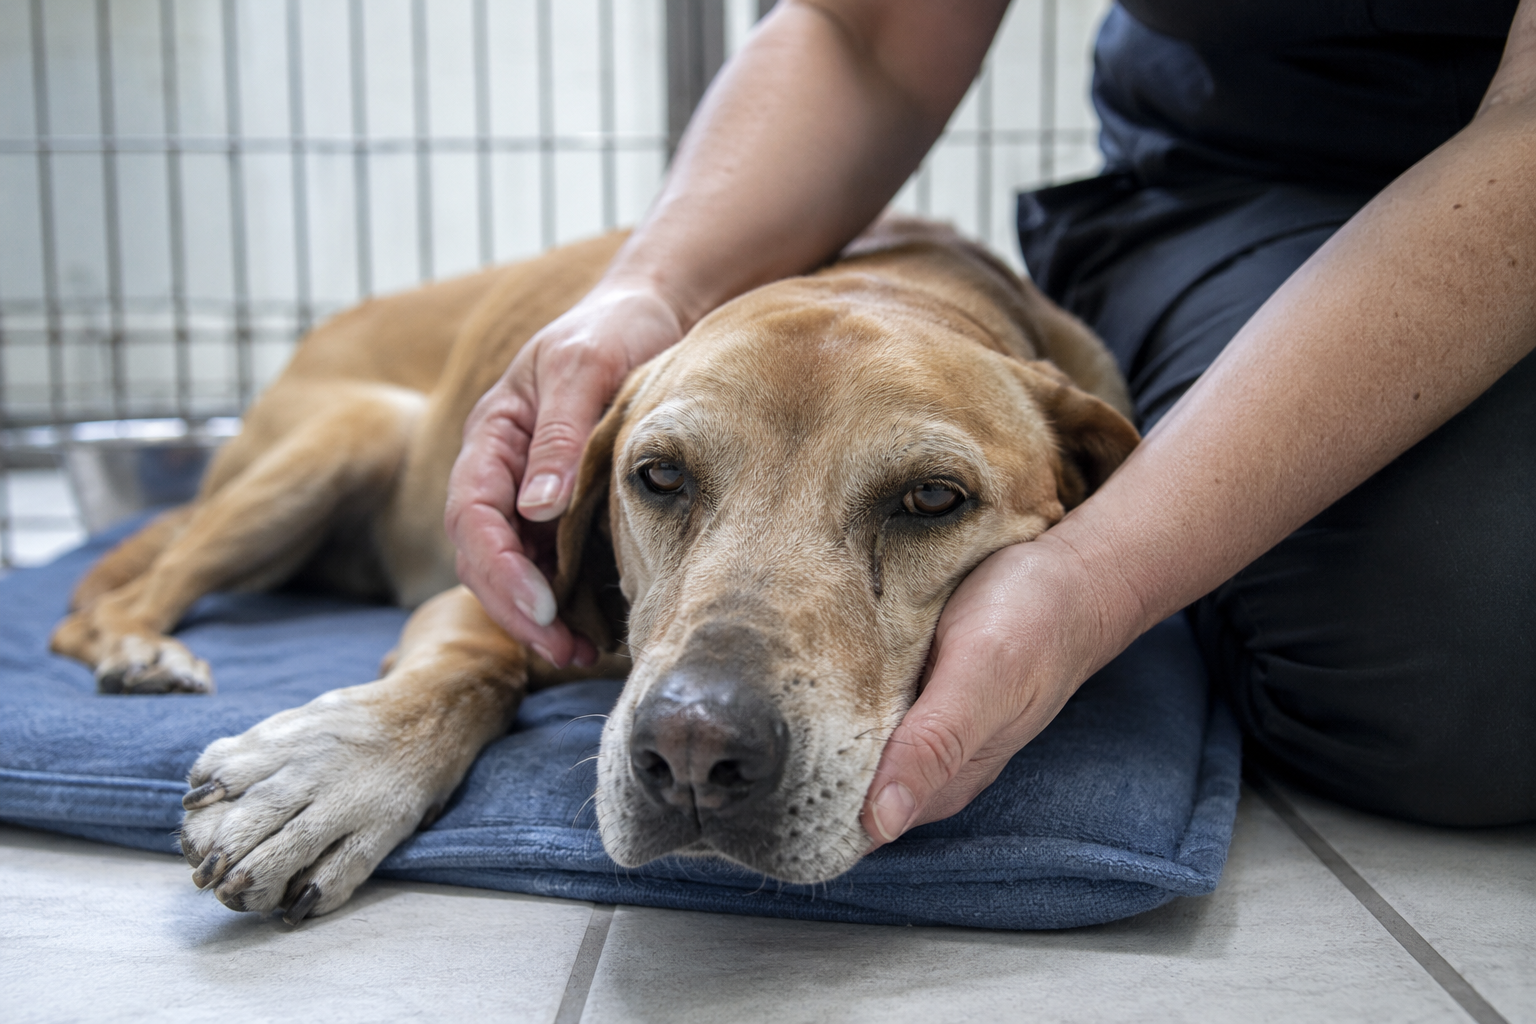
“Head-shaking is the ear’s alarm bell, and the worst thing you can do is silence it by flushing cleaner into a canal you have not had checked,” says Dr. Priya Nair. “If there is an active infection or a ruptured eardrum, cleaning can push the problem deeper. Let a vet look first, confirm the eardrum is intact, and tell you what is actually going on. Then cleaning is safe and genuinely helpful.”
What to use, once you have the green light
Do not attempt a cleaning until a vet has examined the ear and confirmed the eardrum is intact, so you do not flood the middle ear. Your vet can also recommend the right product for your dog. A few options to know:
Commercial ear-cleaning solution. Most dogs’ ears respond better to a purpose-made cleaner than to plain water. These usually contain ingredients that break down wax and dry the canal to discourage infection. There are many formulas, so ask your vet which suits your dog.
Homemade cleaner. If you would rather not use a commercial product, a gentle option is one part vinegar to two parts water, which cleans and dries the canal in most straightforward cases. (Still get the vet’s okay first, and skip it entirely if there is any sign of infection or injury.)
Ear flush. You may see flush products that use pressure to blast wax and debris out of the canal. This is more involved and easier to get wrong, so it is often best left to a professional.
One hard rule: the body wash and shampoo you’d use anywhere else on your dog have no business inside an ear, where they can irritate and damage the fragile canal.
How to clean your dog’s ears, step by step
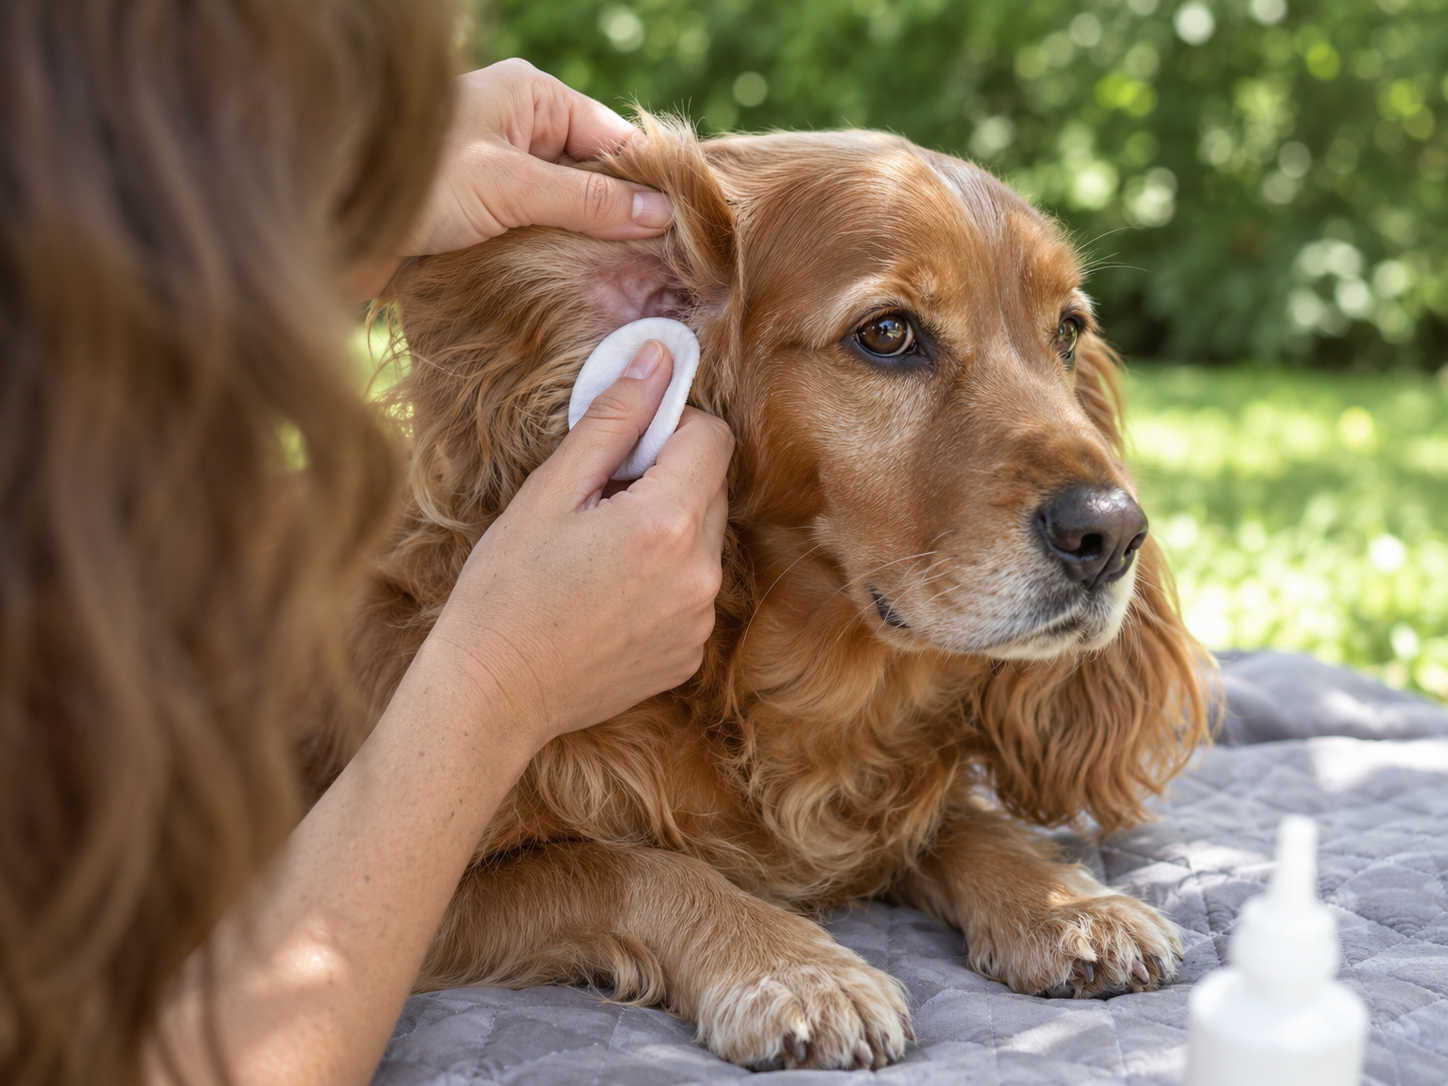
Once your vet has cleared you and you have the right cleaner, here is the process. It goes better with treats and, ideally, a helper.
- Gather your supplies. Set out your cleaner, a stack of paper towels or cotton balls (never cotton swabs), a pile of treats, and, if you can recruit one, a second pair of hands.
- Position your dog. Have your dog sit or lie down, back end nudged into a corner, and station yourself beside or lightly over them. Your helper can hold them steady in whatever way keeps everyone relaxed.
- Fill the canal. Fold back one ear flap and squeeze the cleaner in until the canal is full.
- Massage. Work the base of the ear gently, which most dogs love, and listen for the squelch that means the wax is breaking loose.
- Wipe. Your dog will probably be shaking by now; when you get a window, run a cotton ball or paper towel over your fingertip around the opening to lift out loosened cleaner and debris. Never dig down into the canal.
- Let them shake, then wipe again. Give them room to shake the rest up on their own, then take one more pass at the ear.
- Reward and repeat. Treats and praise, then do the other side.
The earwax color chart, and what it is really telling you
Cleaning gives you a close-up look at your dog’s earwax, which is a genuinely useful diagnostic window even if it is not glamorous. Note the color:
- Yellow to light brown: The color you’re hoping for, normal, healthy wax, not unlike your own.
- Dark brown or black: Usually a sign of trouble. Dry and crumbly (think coffee grounds) can mean ear mites; brownish-gray and greasy can point to an ear infection.
- Green: Greenish wax with a foul smell may indicate a yeast or fungal infection.
- Red: Blood, from an injury inside the ear or from irritation caused by an infection or foreign object.
Alongside color, watch for a foul odor, redness or swelling, or relentless itching. Anything other than yellow or light brown, especially paired with those other signs, is a reason to see the vet.
When to stop cleaning and get help
Any time you notice changes in your dog’s ears, call your veterinarian. As a rule, dogs cannot clear an ear infection on their own, so the sooner they get proper treatment, the sooner they get relief. And do not wait it out: left untreated, ear infections and mites can lead to serious complications, including hearing loss.
What newer research adds
Ear trouble is more common than many owners realize, which is part of why head-shaking should be taken seriously rather than shrugged off. A large UK study using the VetCompass database found that about 7.3 percent of dogs were diagnosed with otitis externa, an inflamed outer ear canal, in a single year. The same research pinned down who is most at risk: floppy-eared breeds top the list, with Basset Hounds standing out dramatically (nearly 29 percent affected), followed by breeds like the Chinese Shar Pei, Labradoodle, Beagle, and Golden Retriever. Dogs with pendulous or drooping ears had markedly higher odds than dogs with upright ears, because a covered, warm, humid canal is a friendlier home for yeast and bacteria. The practical lesson for owners of long-eared dogs: keep an extra close eye on head-shaking and ear odor, and build routine ear checks into your grooming, because for these breeds an ounce of prevention really does head off a lot of misery.
References
- O’Neill, Dan G., et al. “Frequency and Predisposing Factors for Canine Otitis Externa in the UK: A Primary Veterinary Care Epidemiological View.” Canine Medicine and Genetics, vol. 8, 2021, cgejournal.biomedcentral.com/articles/10.1186/s40575-021-00106-1.
- Cornell Riney Canine Health Center. “How to Clean Your Dog’s Ears.” Cornell University College of Veterinary Medicine, www.vet.cornell.edu/departments-centers-and-institutes/riney-canine-health-center/canine-health-information/how-clean-your-dogs-ears.
- Moriello, Karen A. “Ear Infections and Otitis Externa in Dogs.” Merck Veterinary Manual, 2024, www.merckvetmanual.com/dog-owners/ear-disorders-of-dogs/ear-infections-and-otitis-externa-in-dogs.