


Store-Bought Dog Beds Are a Racket. Crochet One From Scrap Yarn.
A coiled single-crochet dog bed costs almost nothing if you raid your leftover yarn, holds up to washing, and takes a beginner-friendly stitch. Here's the full pattern, plus how to size it up and pick yarn that survives a chewer.

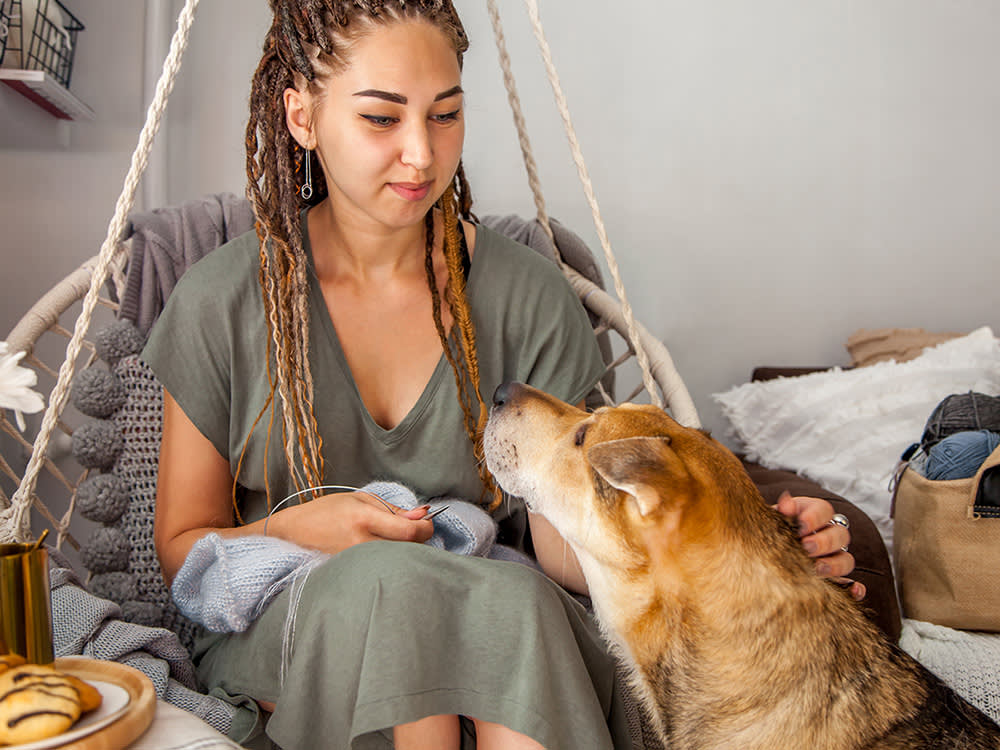
Walk into any pet store and price a decent dog bed and you will feel the sticker shock. A raised-rim cushion that your dog will promptly compress, drag, and shed on can run more than a nice pair of shoes. Meanwhile, if you crochet even a little, there is a good chance the raw material for a perfectly good bed is already sitting in a bin in your closet.
That is the real pitch here. A handmade crochet dog bed is not just a cozy weekend project; it is a genuinely cheaper, sturdier, and more washable option than a lot of what is on the shelf, especially if you build it from leftover yarn you already own. It uses one simple stitch, coils together like a rope basket, and comes out machine washable if you choose the yarn right. Here is the full pattern, plus the sizing and yarn notes the original craft instructions skip.
What you’ll need
The finished bed comes out around 18 by 20 inches, sized for most small dogs, with an interior padded to about an inch and a half thick and a plush rim closer to two and a half inches. To make it you need roughly 20 ounces of worsted-weight yarn, about 32 ounces of polyester fiberfill, a size I (9 mm) crochet hook, and a yarn needle. Adjust the yarn amount up for a bigger dog; more on that below.
The whole thing is worked in a tight single crochet, which is what makes it durable enough to survive real use and repeated washing. It is also the friendliest stitch in the book, so this is a fine project even if you are newer to crochet.
The pattern
Build the inner tube. With any color and the size I hook, chain 2. The four shaping rounds are worked as one continuous spiral, so skip the usual slip-stitch join at the end of each round and just keep circling.
- Round 1: five tight single crochet into the second chain from the hook
- Round 2: two single crochet in each stitch (10)
- Round 3: single crochet in the first stitch, two in the next, repeated around (15)
- Round 4: single crochet in the first two stitches, two in the next, repeated around (20)
From there, keep working even at 20 stitches around until the tube reaches about 80 inches long. Stuff it with fiberfill as you go, pausing roughly every 6 inches to add filling. Do not overstuff. The tube has to stay flexible enough to coil, and a rock-hard sausage will not bend into a bed.
Coil the center. Seal off the end by decreasing the tube or simply finishing and stitching it closed by hand. Then, starting at the center, coil the tube around itself and stitch each loop to its neighbor from the inside, working outward with your yarn needle, until you have a flat round pad.
Build the rim. For the outer wall, chain 35 and join into a loop with a slip stitch. Work even single crochet in each stitch, stuffing along the way, until this thicker tube reaches about 55 inches. Lay it around the coiled center as you go to check the length, then stitch the two ends together into a ring.
Join it all. Set the outer ring around the coiled pad and sew the two pieces to each other, threading a length of yarn onto a tapestry needle to work your way around. That raised wall is the part dogs love to prop a chin on.
Sizing it up for a bigger dog
The written pattern targets a small dog, but the method scales cleanly, and this is the part worth planning before you start. The bed is essentially two measurements: how long the inner tube coils (which sets the pad’s diameter) and how long the outer wall runs (which has to circle that finished pad). To size up, lengthen the inner tube until the coiled pad is a few inches wider than your dog measured nose to tail curled up, then make the outer wall long enough to wrap that larger circle. Buy extra yarn and fiberfill accordingly; a medium or large dog can easily double the material. When in doubt, coil the center first, measure it, then crochet the wall to fit rather than guessing.
Choosing yarn that lasts
A few practical notes the pattern leaves out. Machine washability depends entirely on your yarn, so check the label: an acrylic or a superwash wool will let you wash and gentle-dry the whole bed, while a non-superwash wool will felt and shrink. For the fill, polyester fiberfill is the right call because it bounces back and dries fast after a wash.
If your dog is a chewer, think twice about loose, loopy novelty yarns and stick to a tightly plied acrylic worked in that dense single crochet, which gives the fewest strands to snag. And a real safety note: a dog who eats fabric or yarn can develop a dangerous intestinal blockage, so supervise a determined chewer with any soft bed, homemade or store-bought, and take it away if they are ingesting pieces rather than just lounging.
What newer research adds
The economics behind this project have only gotten more compelling. Yarn and craft costs have stayed modest while pet-product prices climbed, so a scrap-yarn bed undercuts retail by an even wider margin than it used to. And “stash-busting,” using up leftover yarn rather than buying new, has become a mainstream part of the fiber-craft world for both cost and waste reasons, which makes a leftover-yarn dog bed a tidy way to keep odds and ends out of the landfill.
One durable-design point worth borrowing from modern pet bedding: removable, washable covers are prized because dog beds get dirty fast. If you want to level this pattern up, you can crochet a simple flat pad and a separate tube rim so pieces can be washed independently, or make two identical pads and swap them on laundry day. The core coil-and-wall method stays the same; you are just building in the washability that expensive beds charge a premium for.
References
Leila Torres leads our Living coverage, from home life and travel to the products and rescue stories that come with sharing a life with animals. She edits and writes across the section, with a soft spot for pieces about the bond between people and their pets.
Meet our experts ↗Keep reading
 Product PicksShe Left 12 Years in Finance to Make Dog Beds That Don't Look Like Dog BedsLeila Torres · 5 min
 Product PicksMost Faux Fur Is Just New Plastic in a Nicer Shape. This Dog Bed Isn't.Sara Lim · 6 min
 Product PicksThe Most Sustainable Dog Bed Is the One You Never Have to ReplaceMarcus Webb · 6 min
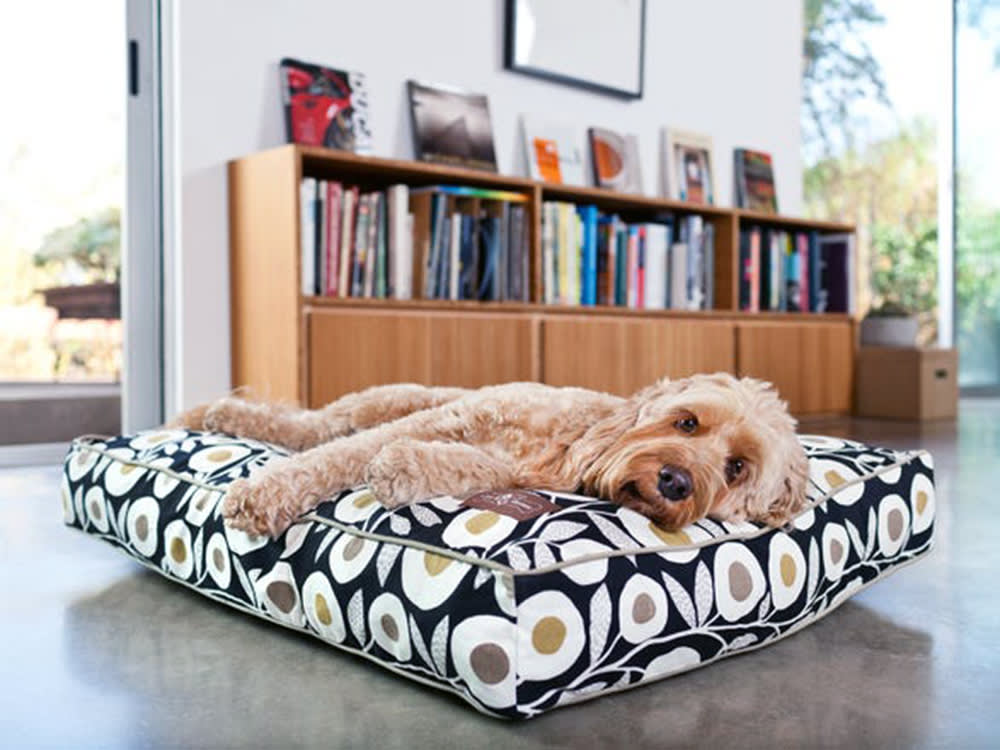 Product PicksYour Dog's Next Bed Might Be 12 Recycled Soda Bottles. On Purpose.Leila Torres · 6 min
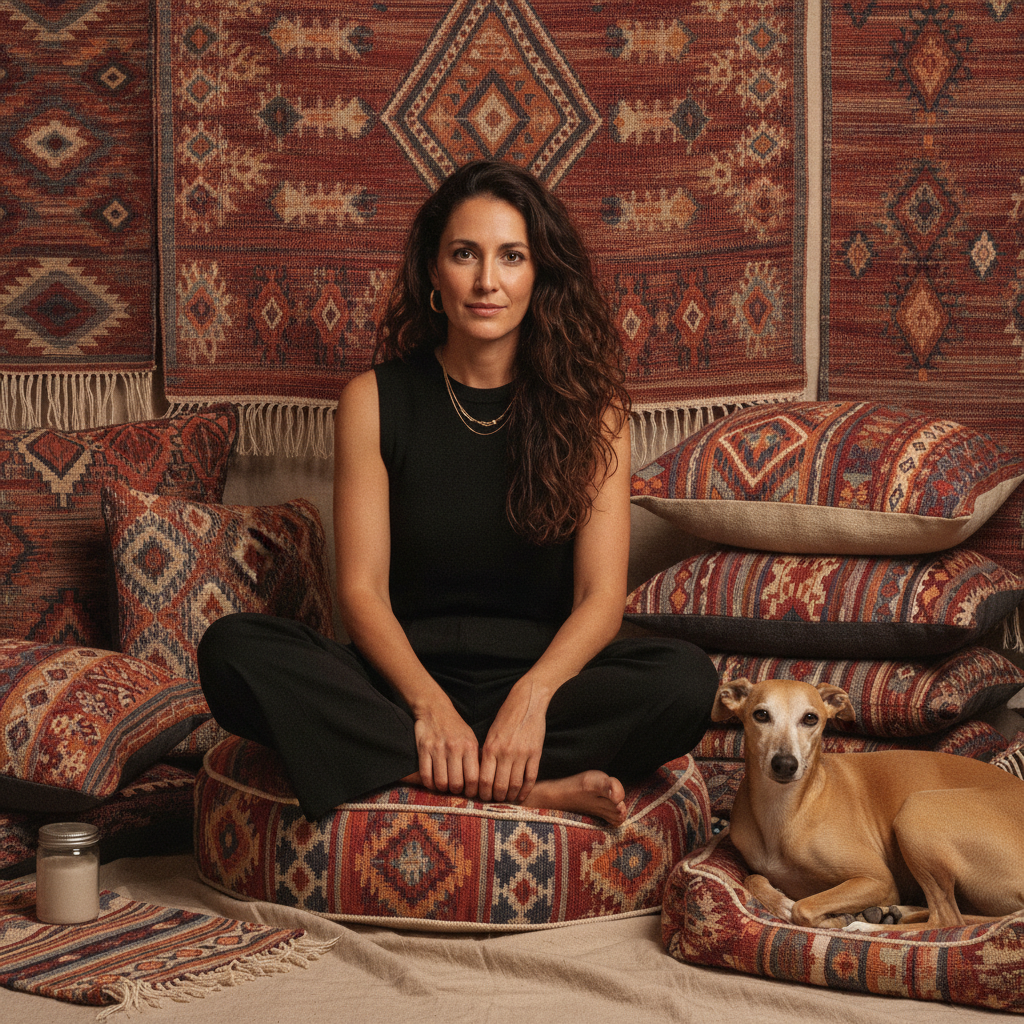 Product PicksThese Dog Beds Are Handwoven by Indian Artisans, Not Stamped Out in a FactorySasha Ford · 4 min
 Product PicksNo Single Product Fixes Separation Anxiety. These 7 Stack Up to Something That Works.Dr. Lena Park · 7 min