


Bury the Bin, Not the Truth: A DIY Dog-Waste Digester, Done Safely
A backyard dog-waste digester keeps hundreds of pounds of poop out of the landfill for the price of an old trash can. But it's a mini septic system, not a compost pile, and the safety rules people skip are the ones that matter. Here's how to build one and run it right.

Affiliate disclosure. This article contains affiliate links. We may earn a small commission if you buy through a link, at no extra cost to you. How we handle recommendations.
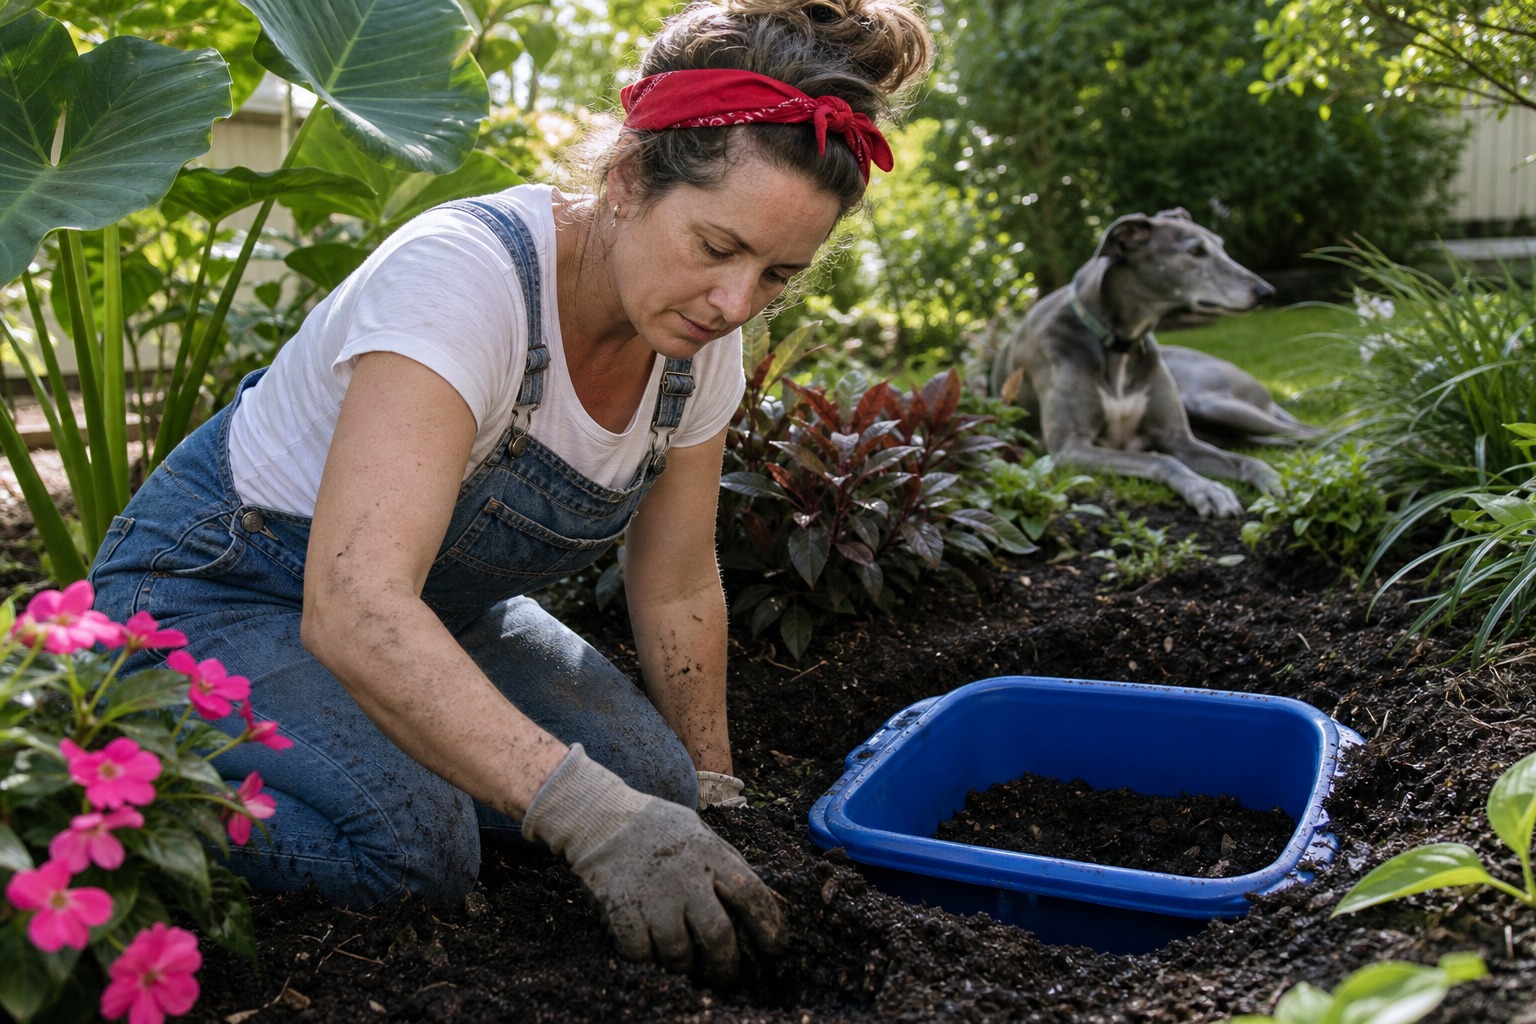
Do the arithmetic once and a backyard digester stops sounding like overkill. A single dog produces about three-quarters of a pound of waste a day, which adds up to roughly 274 pounds a year, and multiplied across the tens of millions of dogs in the country that is an enormous stream of bagged poop headed for the landfill, plastic bag and all. An in-ground digester diverts your share of it, breaks it down in your own soil, and costs about as much as a trash can and a bag of septic starter.
But here’s the framing that keeps this project safe, and that most how-to guides gloss over: what you’re building is a miniature septic system, not a compost pile. It doesn’t produce garden gold. It liquefies waste and lets it leach into the subsoil, and dog waste carries pathogens that a backyard bin never gets hot enough to kill. Understand that distinction and everything else, including the one rule you must not break, follows from it.
First, the rule that isn’t optional: never on food crops
The EPA treats pet waste as a genuine source of water pollution, and the reason is biology. Dog feces can carry E. coli, Salmonella, Giardia, and roundworm eggs, and roundworm eggs in particular are famously durable, surviving in soil for years. Killing them reliably takes sustained heat: composting research points to around 140 degrees Fahrenheit held long enough to sanitize the material, a temperature a buried trash can full of poop simply never reaches.
So the output of a home digester is not safe for anything you’ll eat. Do not spread it, and do not site the digester, near a vegetable bed, an herb garden, fruit trees, or a berry patch. Keep it well away from your well and from any storm drain or waterway, too. A back corner of the yard near ornamental shrubs, a flower bed, or unused ground is the right home. This single rule is the difference between a tidy eco-project and a contamination problem, and it’s the one people most often get wrong.
Build it in an afternoon
The classic design is an old plastic trash can turned into a leaching chamber. You’ll need the can with its lid, a drill, a keyhole saw, and some rocks or gravel.
- Drill about a dozen holes around the sides of the can so fluid and gas can exchange with the soil.
- Cut out the bottom of the can with the keyhole saw.
- Test your drainage before you commit. Dig your hole, pour in a few gallons of water, and see whether it drains within a few hours. Fast-draining, sandy soil is ideal. Heavy clay or a high water table will let waste pool and stall, which means a digester isn’t right for your yard, and an enclosed pet-waste composter or a pickup service is the better call.
- Set the can in the hole over a few inches of gravel, with the rim slightly proud of the ground so surface runoff stays out.
- Add the lid, and paint “Dog Waste” across it so it’s never confused for compost.
To charge it, add waste along with a scoop of septic starter (the same non-caustic, bacteria-promoting product sold for home septic tanks, available at hardware stores or on Amazon) and a splash of water.
People picture composting and imagine finished soil at the end, but a backyard digester is really a small septic field. It biodegrades the waste and sends the liquid into the subsoil. The instruction that carries all the weight is keeping it away from anything edible, because a bin this size never gets hot enough to sanitize.
The exchange holes let liquid and gas move into the surrounding earth, and the septic bacteria do the breaking-down. This DIY approach follows the design long promoted by Michael Levenston of Vancouver’s City Farmer urban-agriculture program, a widely cited source for home pet-waste composting. Check the digester weekly, and top up with starter and water whenever it seems to slow.
If you’d rather buy than build, the Doggie Dooley in-ground system works on the same septic principle, with a step-open lid and its own waste-terminator tablets.
Cold weather: it doesn’t just slow down, it stops
Here’s a correction worth making, because a lot of DIY guides tell you the digester “keeps working, just slower” through winter. That’s only half true. The bacteria that liquefy the waste are cold-sensitive, and by the manufacturer’s own guidance for systems like the Doggie Dooley, the process effectively stalls once air temperatures stay below about 40 degrees Fahrenheit. In a mild-winter climate you’ll see a real slowdown you can nudge along with extra starter and water. In a genuinely cold climate, the digester will stop breaking anything down until spring, and adding waste to a frozen, non-working bin just packs it in. Plan for that: in freezing regions, expect to pause the digester over winter and use another disposal method until the ground and the bacteria wake back up.
Is a digester right for you?
A digester earns its keep if you have a yard with well-draining soil, room to site it away from food and water, and one or two dogs’ worth of daily output. It’s the wrong tool if your soil is heavy clay, your winters are long and hard, your water table is high, or you’re working with a tiny urban space. In those cases an enclosed above-ground pet-waste composter, a flushable or genuinely compostable-bag routine, or a municipal pet-waste program will serve you better. Matching the method to your yard is what turns good intentions into waste that actually stays out of the landfill.
The bottom line
A buried-bin digester is a cheap, satisfying way to keep a few hundred pounds of dog waste a year out of the trash and in your own soil. Treat it as the small septic system it is: build it over drainage you’ve tested, keep it far from anything you’ll eat and from your water, expect it to sleep through a cold winter, and never mistake its output for garden compost. Do that, and it’s one of the easiest sustainability wins a dog owner can pull off in a weekend.
References
Marcus Webb writes about the gear, gadgets, and everyday choices that make life with a pet easier. His coverage runs from product picks to training and the causes worth paying attention to, always with an eye on what actually earns a place in your home.
Meet our experts ↗Keep reading
 LivingSome Dogs Aren't Built for Your Apartment. Meet the Farm Dog Who Proves It.Leila Torres · 8 min
 LivingPet-Safe Flooring, Ranked by How Your Dog Actually Uses the FloorLeila Torres · 8 min
 LivingPet-Safe Cleaning Is About How You Clean, Not Just What You BuyNina Vasquez · 6 min
 Living'Pet-Safe' Is a Marketing Word. Read the Label Instead.Dr. Nina Kohl · 7 min
 LivingPet Composting: Turning Your Pet's Remains Into New LifeClaire Sutton · 9 min
 LivingYour Pet's Toy Pile Is Working Against YouNina Vasquez · 6 min